
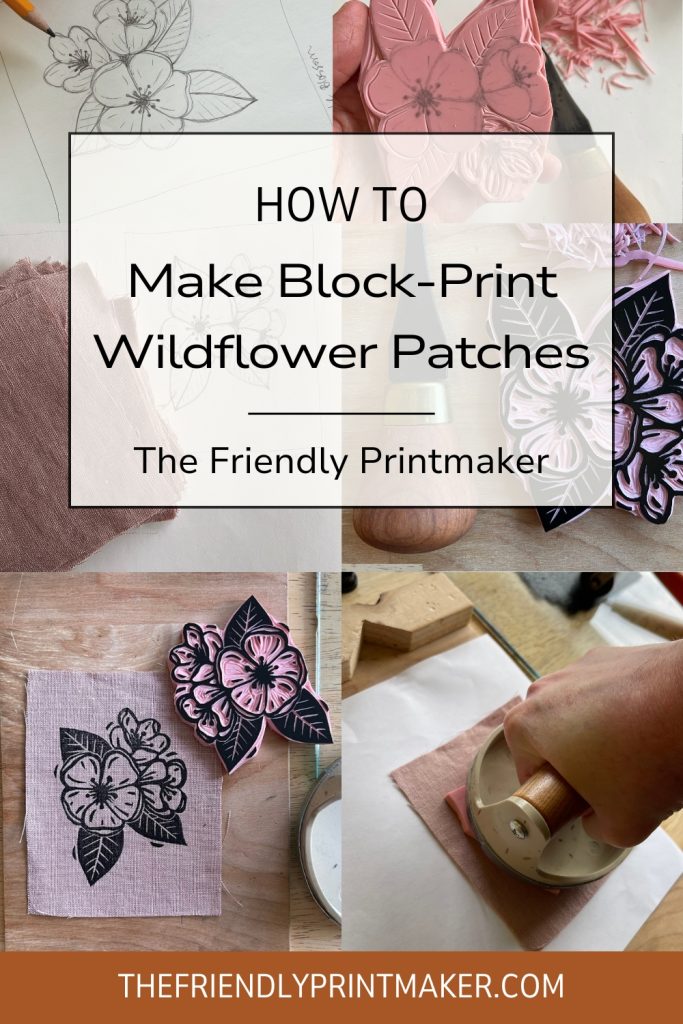
How to make a Block-Printed Wildflower Patch
There’s something a little magical about wildflowers, isn’t there? They bloom where they please, sway in the breeze like they’re dancing, and remind us that beauty doesn’t have to be fussy—it can show up anywhere. And when it comes to block printing, wildflowers make the perfect subject. They’re full of personality, easy to stylize, and wonderfully forgiving. Whether you’re new to linocut printing or just want a relaxing weekend project, this beginner-friendly tutorial will show you how to carve and print your block-printed wildflower patch—no watering required!
Shop patches made by The Friendly Printmaker on Etsy!
Step 1: Gather a Little Inspiration for Your Block-Printed Wildflower Patch
Start by collecting a few wildflower references. If you can head outside and find some growing nearby, go observe in person! Snap a few photos or pick a couple to sketch from. If not, no worries. A quick search for “wildflower line drawings” or a peek into a nature book will do just fine.
Look for a mix of shapes—tall stems, round blossoms, tiny textured blooms. This variety will help your patch feel lively and balanced.
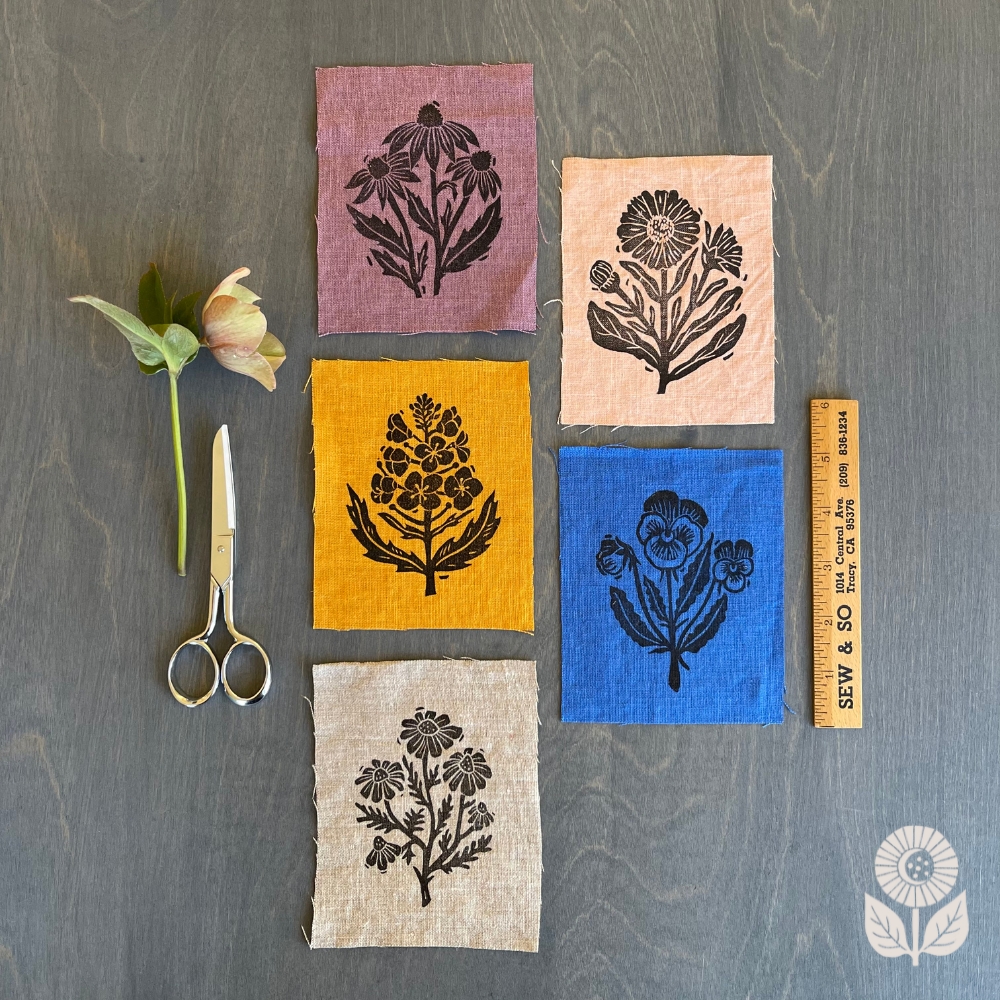
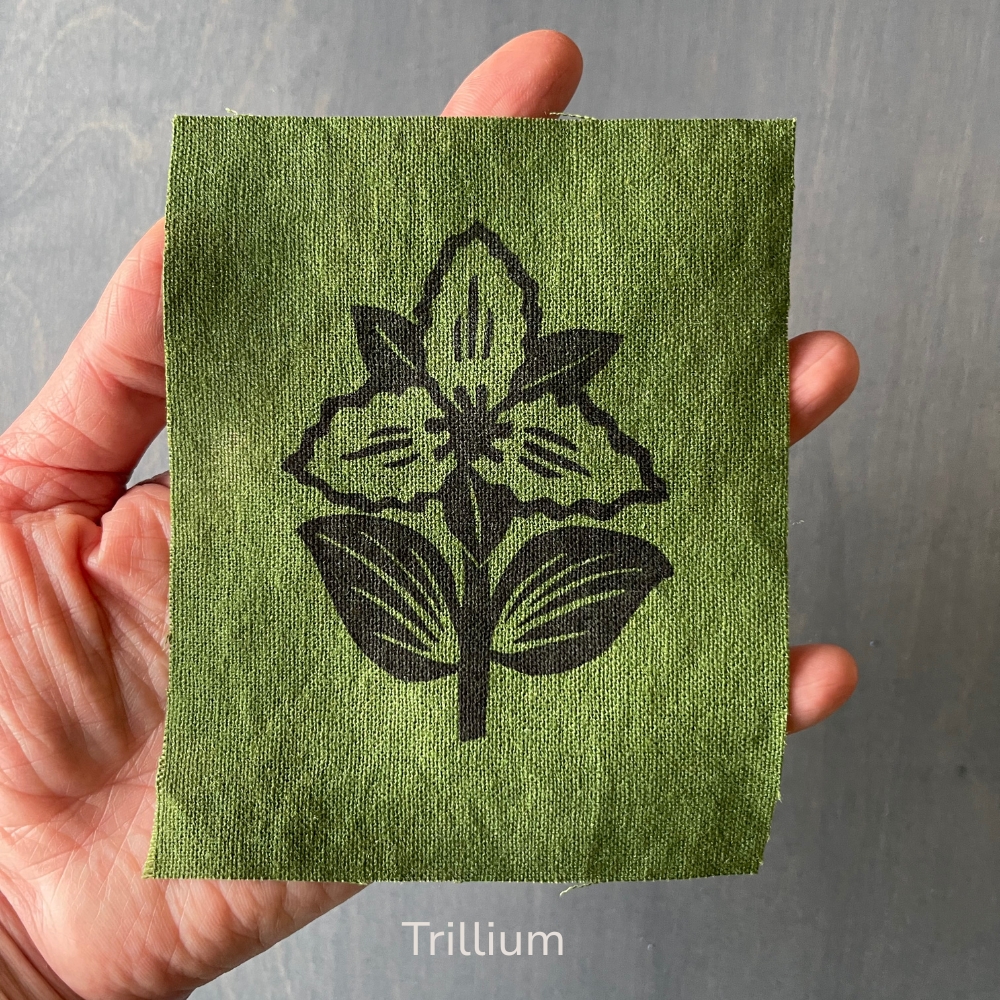
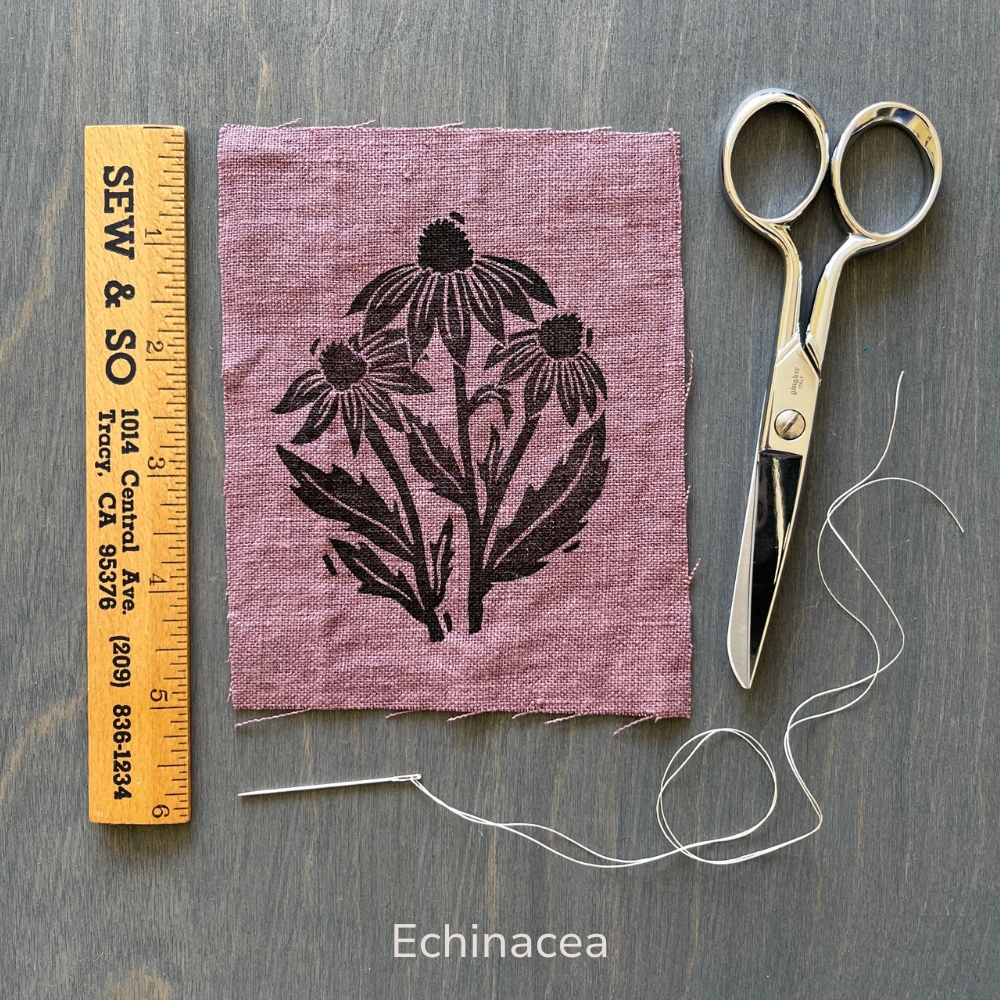
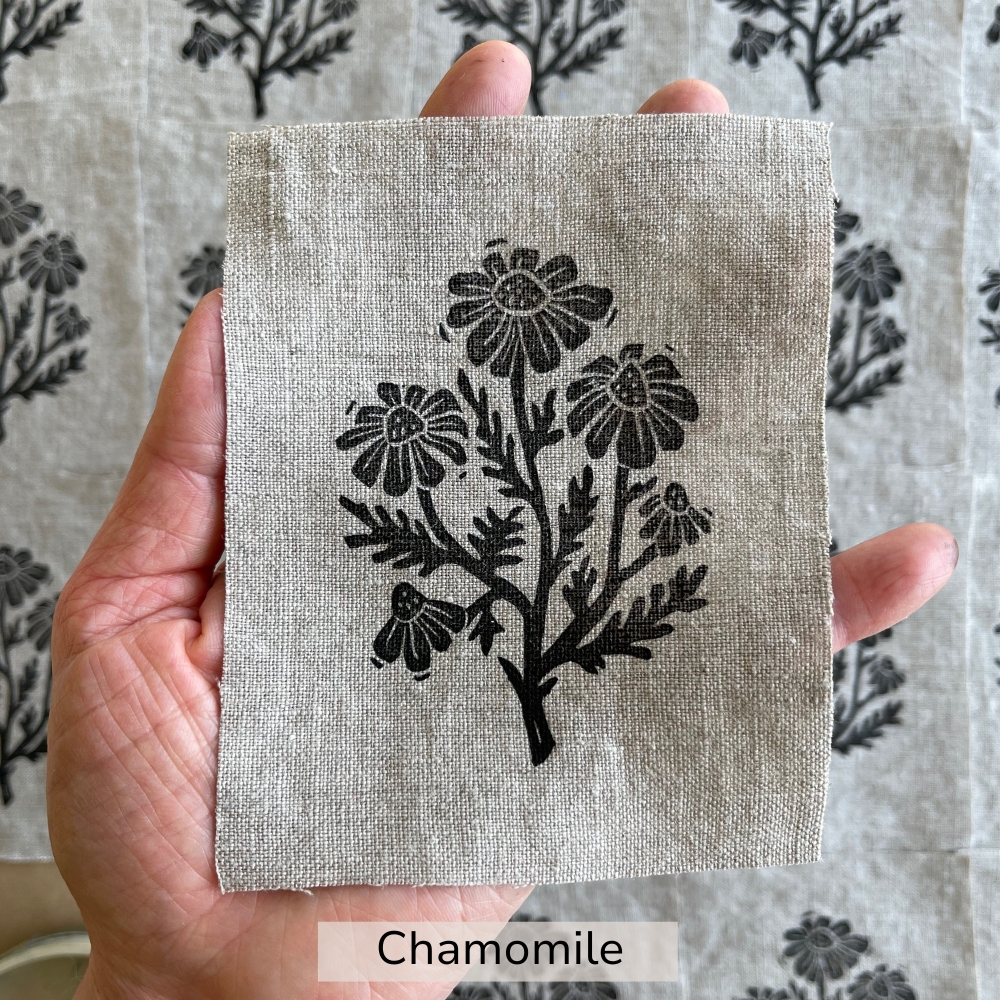
Some flower ideas to get you started:
- Trillium (simple and cheerful)
- Echinacea (lovely, graceful curves)
- Chamomile (tiny but mighty)
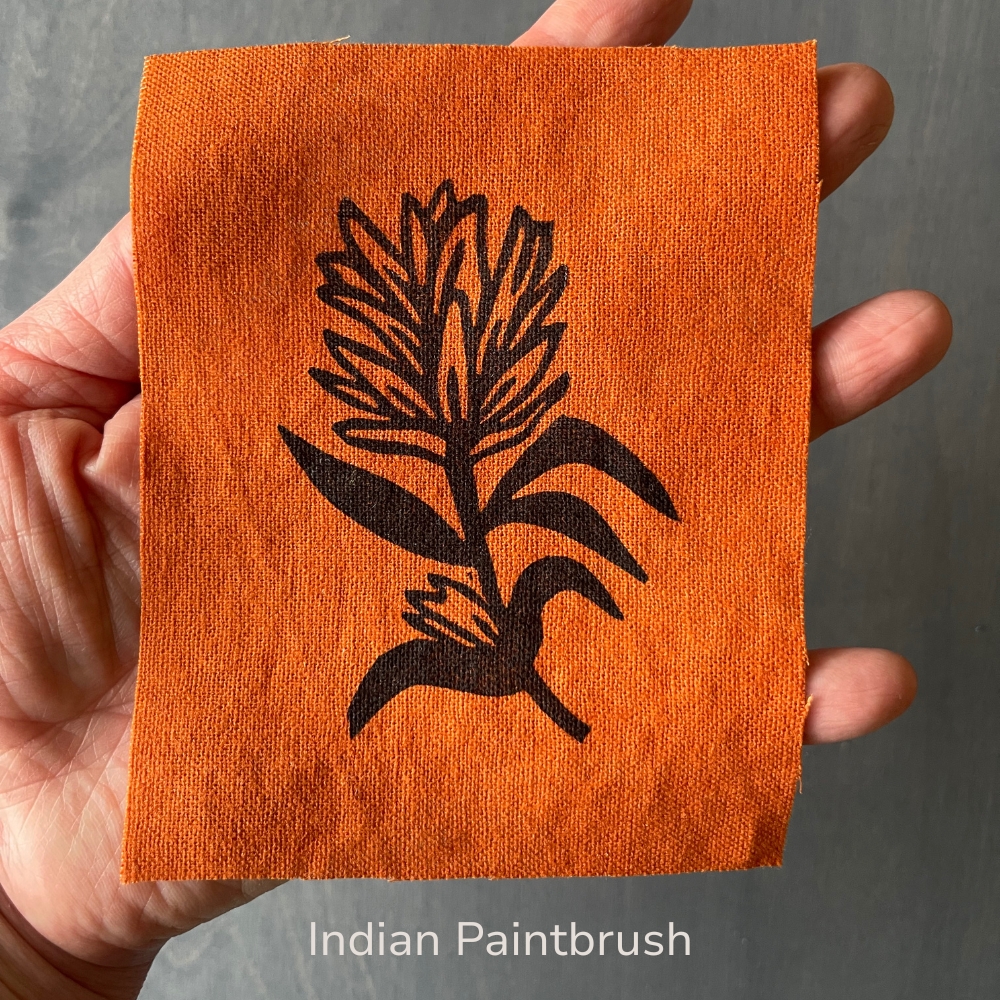
- Indian Paintbrush (great for texture)
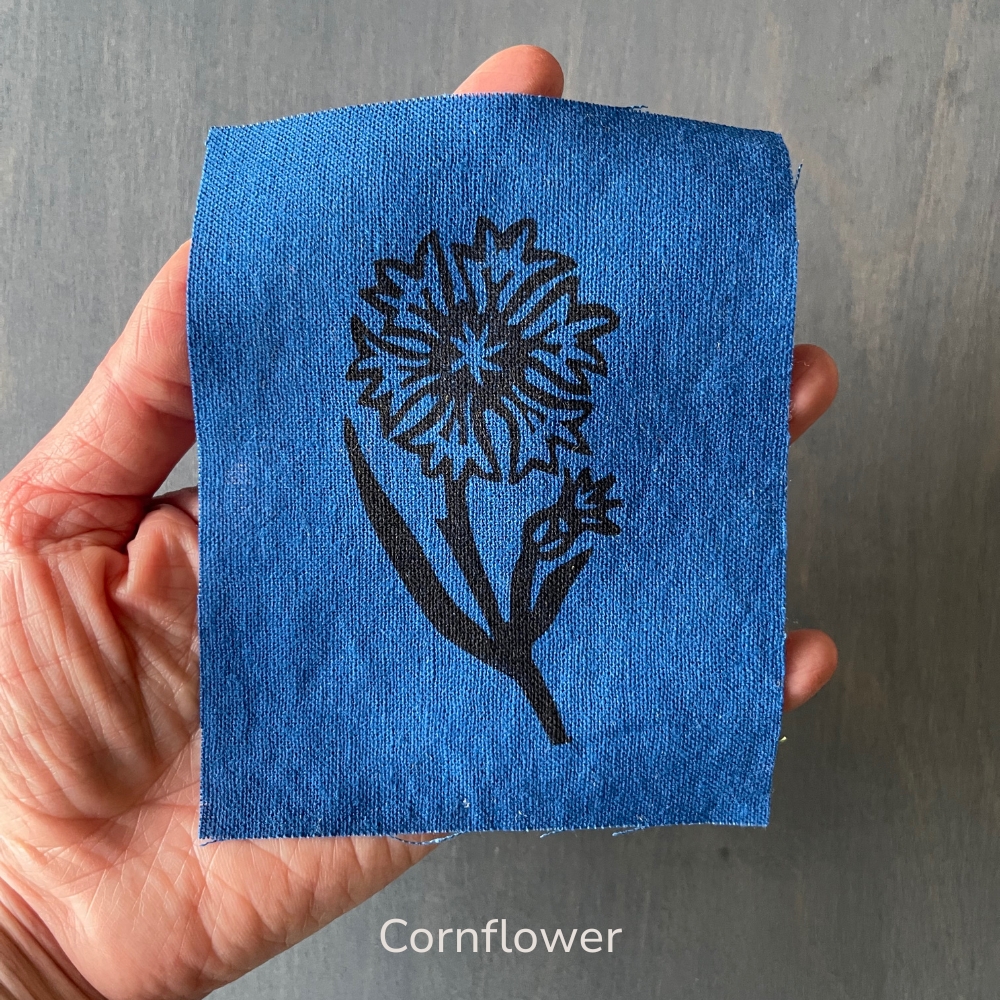
- Cornflowers (spiky and playful)
Remember: stylized is totally fine. You’re not aiming for botanical accuracy—this is your wildflower garden.
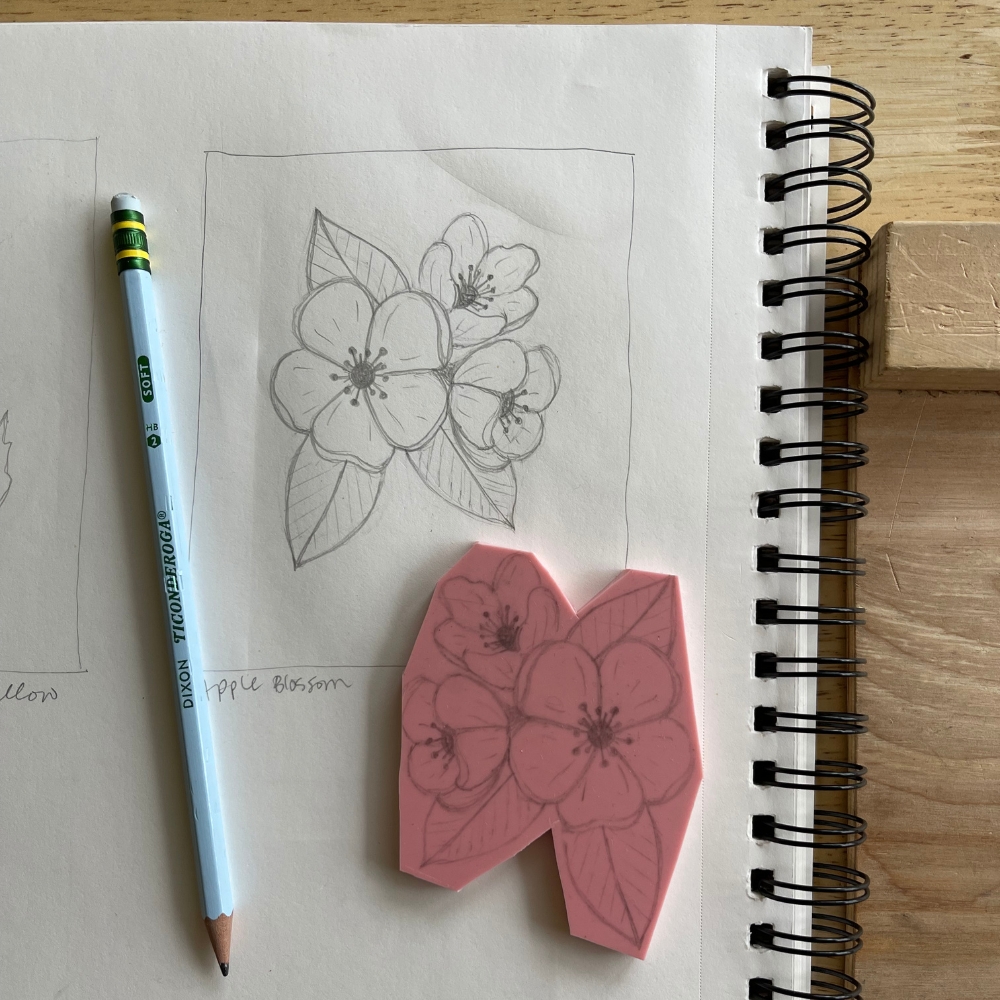
Step 2: Sketch Out Your Block-Printed Wildflower Patch
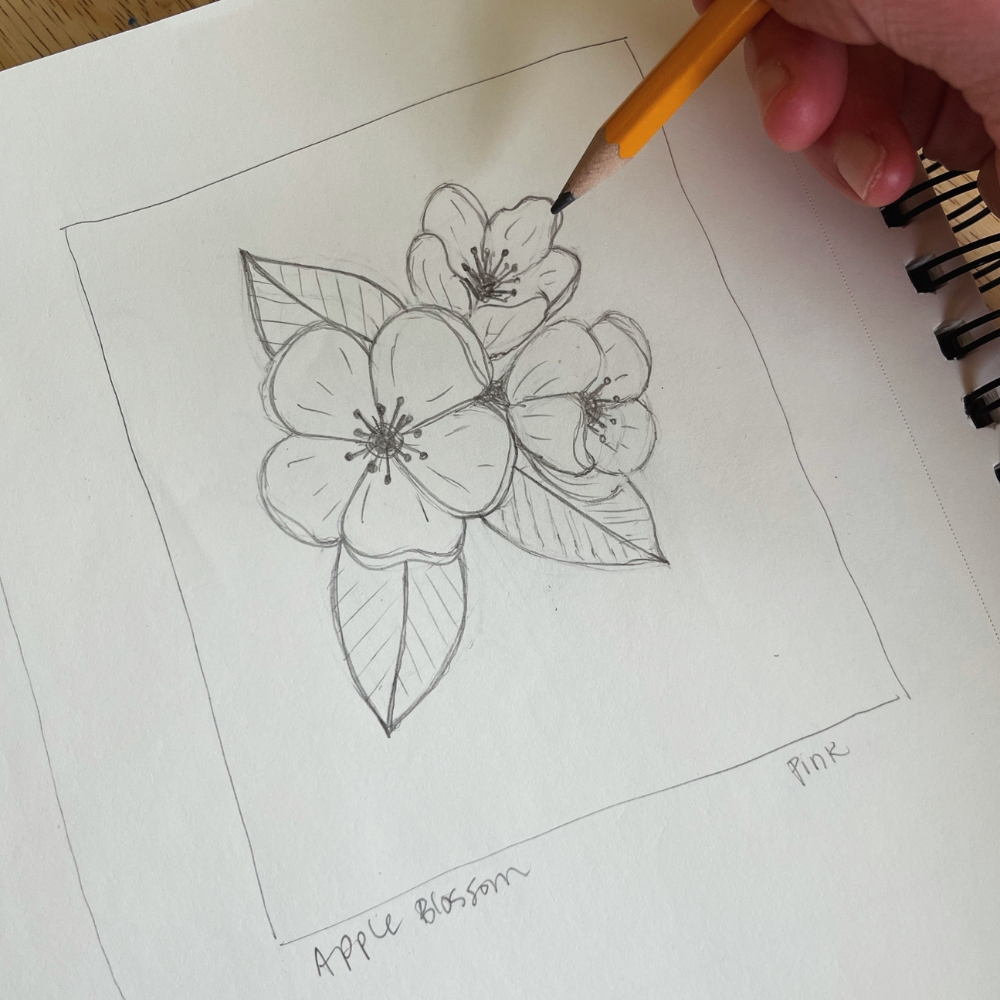
This is where you start turning inspiration into design. Sketch your flowers using a pencil, and once you’re happy with the shapes, erase any lines you don’t want to transfer to your carving block, then go over your final drawing lines with your pencil again to define them. Adding another layer of graphite to your drawing will make it easier to do a rubbing transfer onto your block.
If drawing isn’t your favorite part, don’t worry! You don’t need to be a “good” artist to create a beautiful linocut print. Think of it more like playing with silhouettes and shapes than perfect linework.
Step 3: Transfer Your Drawing and Carve Your Block
Once your design is ready, transfer it onto your carving block. Flip your drawing face down onto your block, and rub the back with a spoon or fingernail to transfer the graphite from your drawing onto the carving block.
For this type of printmaking, I enjoy using Speedball Speedy-Carve blocks. Speedy-Carve is pink, latex-free, easy to carve, and known not to crumble. If you take good care of your blocks, you will be able to use them over and over for different projects. If you store them well, they will last for years. To learn more about that, read Caring for Your Blocks.
Now carve slowly and gently, especially around those curvy petals and skinny stems. A little wobble adds charm—it’s a wildflower, after all.
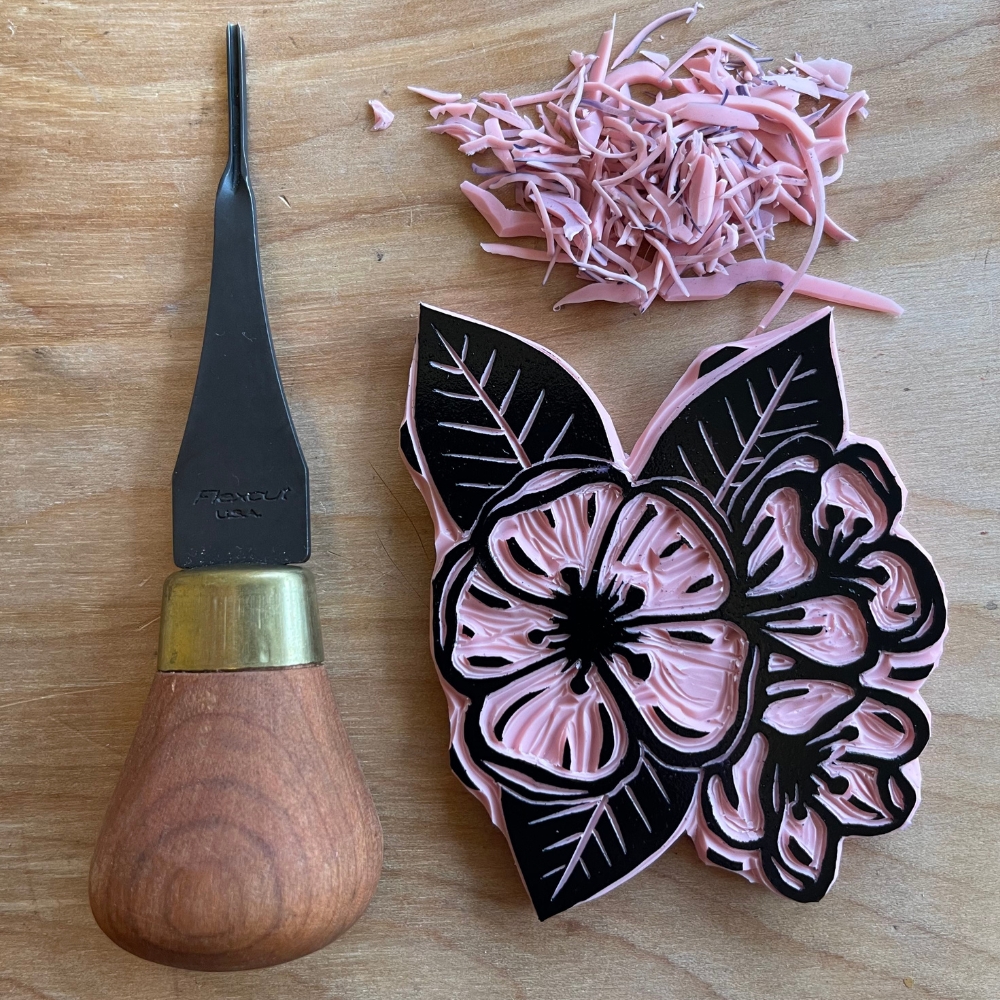
Carving Tip: Trace your design with a permanent marker, a Sharpie for example, to make bold lines that are easier to see while you carve!
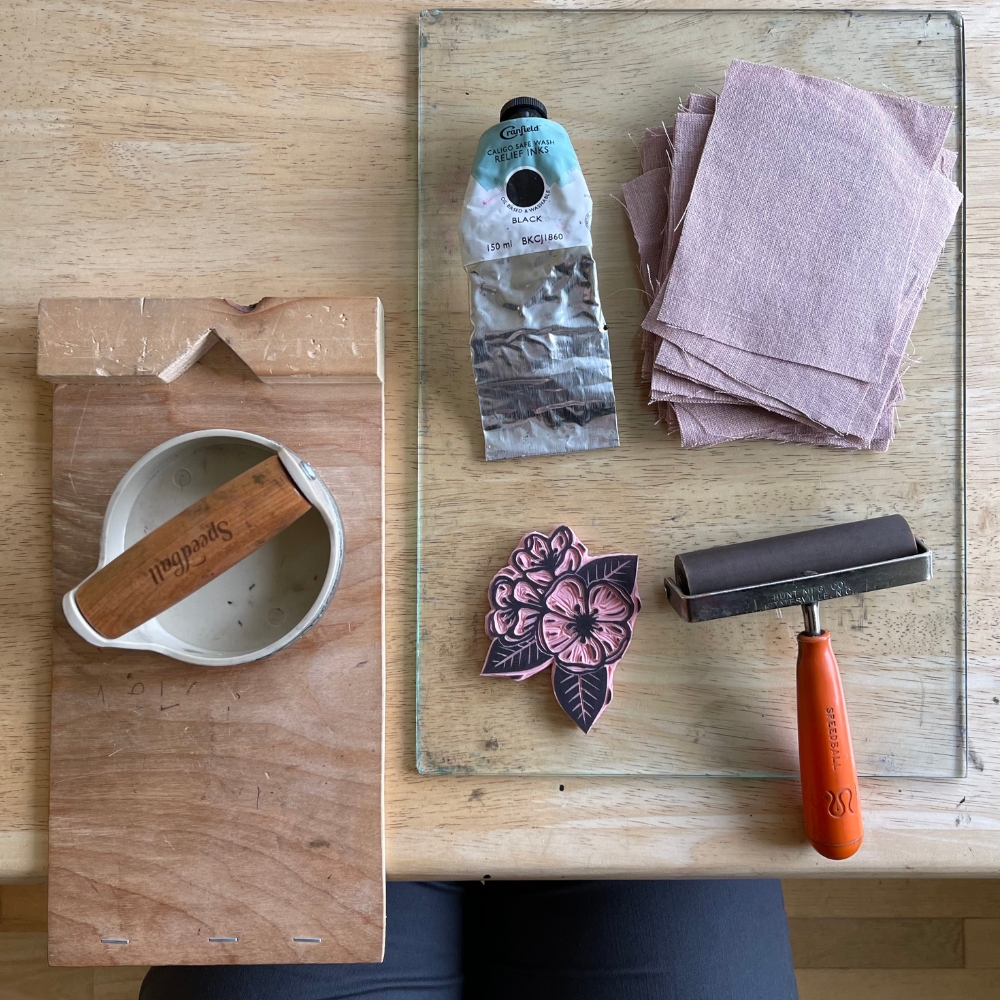
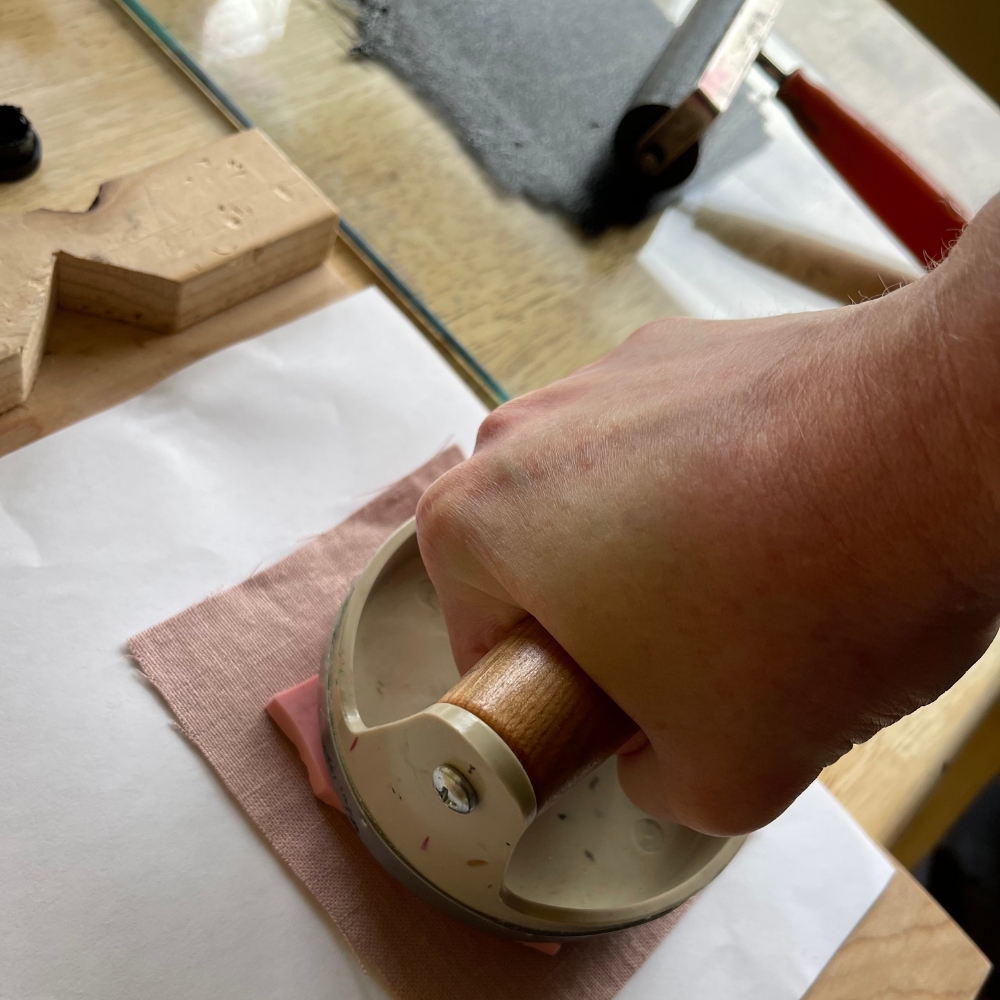
Step 4: Ink and Print Your Wildflowers
Time to bring your flowers to life! Roll out your ink on a smooth surface with a brayer until the ink is spread out evenly and has the texture of an orange peel, then roll it evenly onto your block.
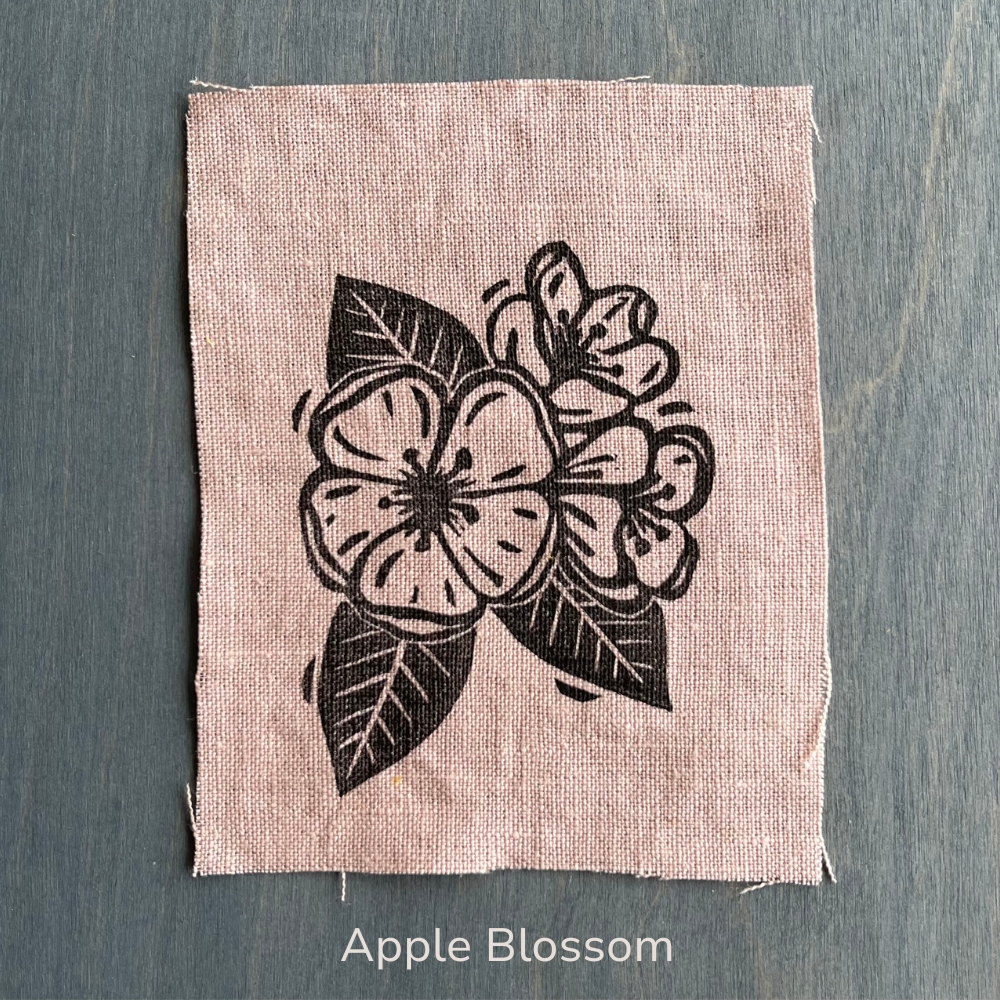
For fabric printing, I recommend Cranfield Caligo Safe Wash Relief Ink. It’s oil-based for smooth, crisp prints, but washes up with soap and water—no solvents needed. Perfect for beginners, eco-conscious makers, and anyone who wants clean-up to be easy. Speedball Fabric Block Printing Ink is another solid choice of ink if you want something water-based.
Print your blocks onto:
- Recycled paper or cardstock
- Cotton or linen fabric
- Upcycled fabric scraps
- Blank greeting cards
- Kraft paper for wrapping
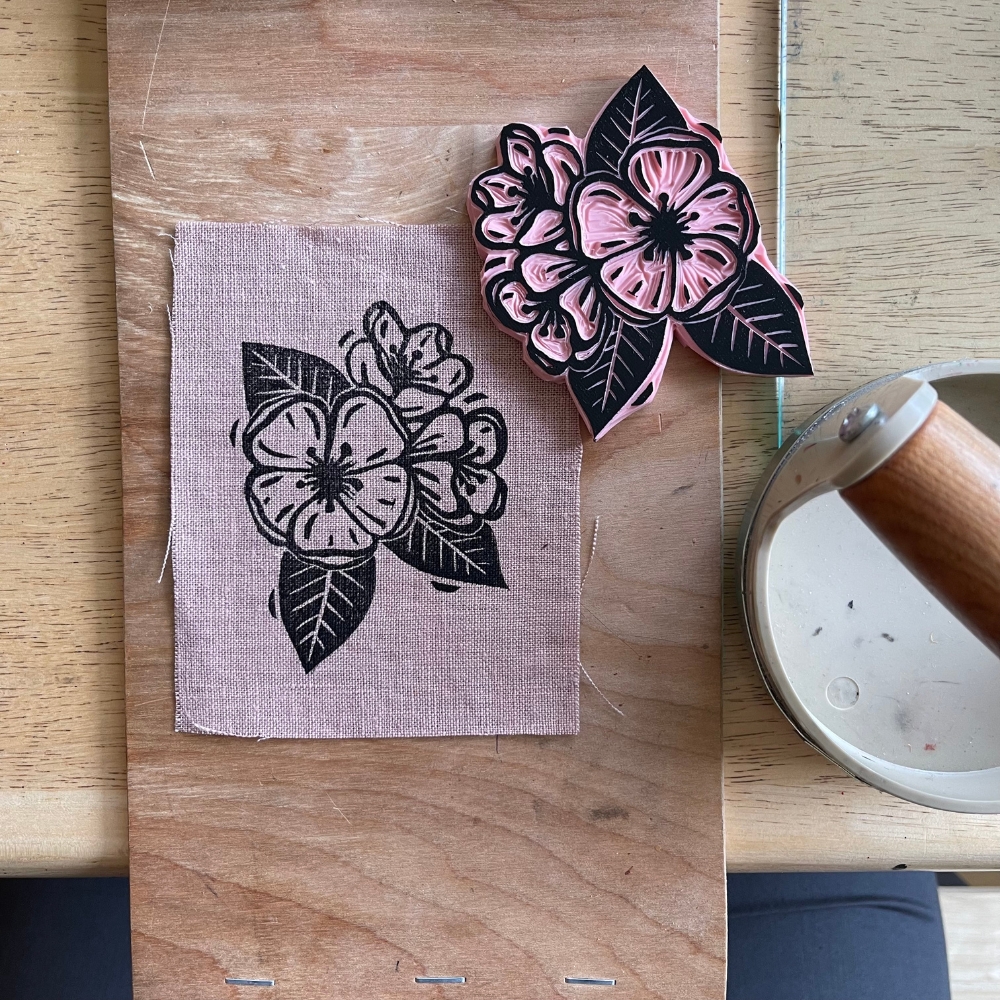
Gently press with your hands or a baren, and peel back slowly to reveal your blooming block-printed wildflower patch.
Don’t Forget These Fabric Printing Tips:
- Pre-wash fabric to remove sizing
- Cut all your fabric before you print (I like a 4 in x 5 in size best)
- Use tightly woven cotton or linen
- Let ink dry 24–48 hours
- Heat-set your printed patch with an iron (no steam) to make it permanent. This will help your prints last longer, especially if they’ll be washed.
Step 5: Customize and Experiment
Once you’ve got a few prints, it’s time to play! You might:
- Add a carved bee, butterfly, or beetle to your scene by carving a little bit of off-cut speedy carve block to make a small block
- Print a few cards with the same block to pop in the mail
- Use your blocks again to create gift wrap or tags
And if one of your prints doesn’t turn out quite right? Keep it! Those imperfect ones often become the most beloved—quirky, handmade, and full of heart.
Step 6: Share Your Block-Printed Wildflower Patches
One of the most delightful things about block printing on fabric, besides the inky fun of carving and printing, is figuring out what to do with your prints afterward. Whether you’re using your wildflower blocks or trying something new, fabric patches are full of potential. They’re easy to make, easy to share, and bring a sweet, handmade charm to anything you add them to. Here are a few ways to use and share them:
What to Do With Your Wildflower Fabric Patches:
- Tote Bags – Sew or iron a patch onto a plain tote for a custom floral bag.
- Denim Jackets – Add a patch to the back or pocket for a botanical twist.
- Aprons – Decorate your craft or kitchen apron with your own printed work.
- Pencil Cases or Pouches – Stitch a patch to keep your carving tools close or as a fun school gift.
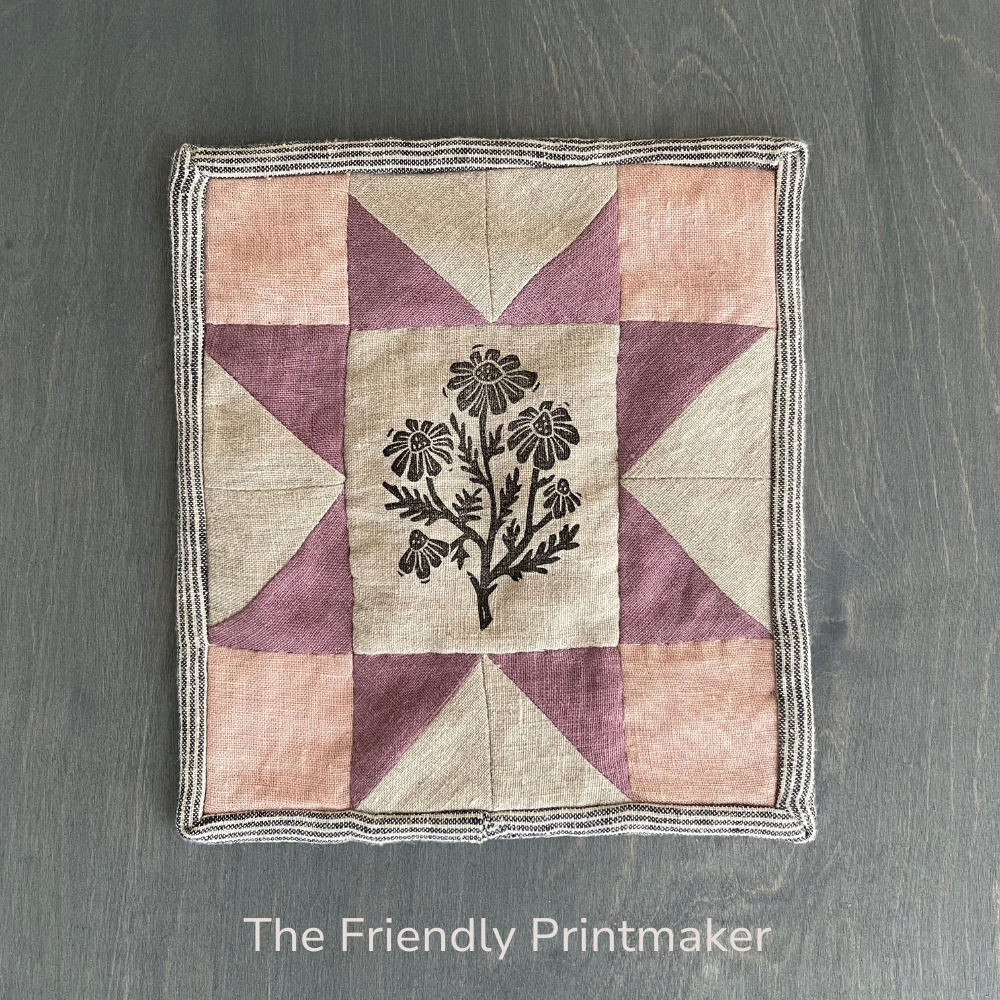
- Mini Quilts or Wall Hangings – Combine a few patches for a cozy art quilt.
- Tea Towels, Bunting, or Pillows – Perfect for homey, handmade vibes.
A Final Thought (and a Friendly Nudge)
Creating a block-printed wildflower patch isn’t about getting every petal perfect. It’s about slowing down, enjoying the process, and letting your creativity bloom. If you can, take a walk and observe what’s growing nearby. Let nature inspire your next print!
Whether it’s your first try or your fiftieth, I hope this brings a little joy to your day. And if you print your own wildflower patch, I’d love to see it! Tag me on Pinterest with @thefriendlyprintmaker or send me a note—your creativity always makes my day.

Jacquelyn
Jacquelyn Speare, M.S.Ed. is a visual artist and professional educator. The Friendly Printmaker is the place to learn about printmaking, find product reviews, and find inspiration for DIY relief print projects. Learn more about Jacquelyn here.

